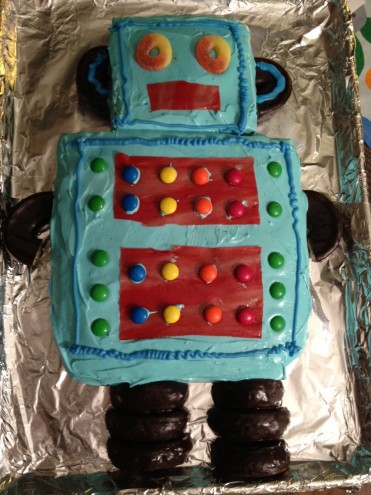
When my son requested a robot birthday cake, I scoured the web for inspiration. I found so many beautiful cakes and robot photos for decorating tips and creative inspiration. One of my favorite decorating short cuts was to use mini donuts cut in half for the legs of the robot.
Here is how I made my little man a robot cake.
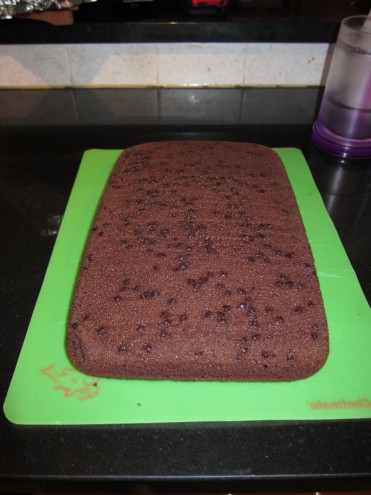
Step 1: Bake the cake. I prepared my favorite chocolate cake mix in a 9 by 9 inch glass cake pan. Rather than greasing the pan, I lined the bottom with parchment paper. I’ve found that this guarantees me an easy release from the pan which is particularly important for cakes you plan to shape and ice.
Step 2: Cut the cake. After letting the cake cool for several hours, I cut it into two pieces – a big rectangle for the body and a smaller rectangle for the head. I then cut pieces off the head rectangle piece to form a square head to sit upon the rectangular body. I had an easy time cutting with my serrated bread knife and you can really make any robot shaped head you desire.
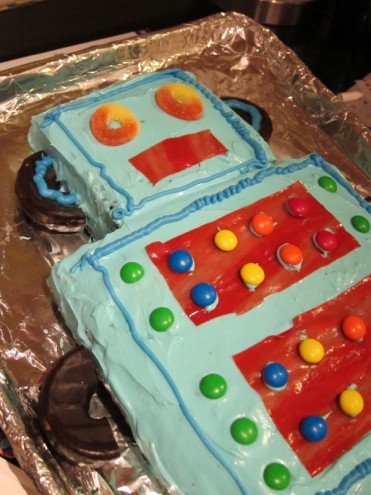
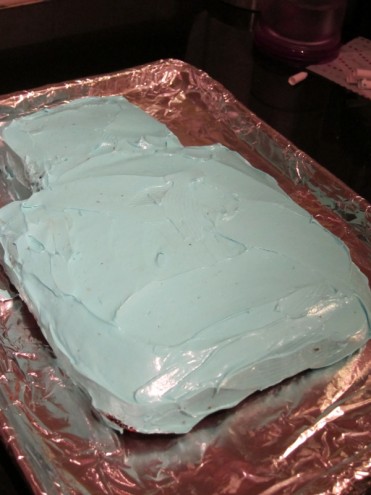
Step 3: Frost the cake. I bought store-brand white icing and mixed in some sky blue colored gel food coloring. I considered making the robot grey or silver but after reading about some fellow bakers’ troubles with icing color mixing, I let my son pick the blue color. I iced all the cake parts, and saved the little bits remaining to ‘glue’ candy at the end.
Step 4: Add the donuts. I cut mini donuts in half and used them to make legs, arms and antennas.
Step 5: Decorate with candy. I used peach gummy circles for eyes. Fruit roll ups cut into squares for control panels and M&Ms for control buttons. I also did some outlining with darker blue icing.
Step 6: Present to my birthday boy!
T hat’s IT Mommy Jill








3 comments
I LOVE this! Great work, Jill!
Oh wow! What an adorable idea!! So creative!!!
My nephew would love this