Thanks to Melissa’s Produce for providing
the fresh produce used in this recipe.
What dish reminds you most of your childhood? For me, it’s kimchi. And I just made it for the very first time!
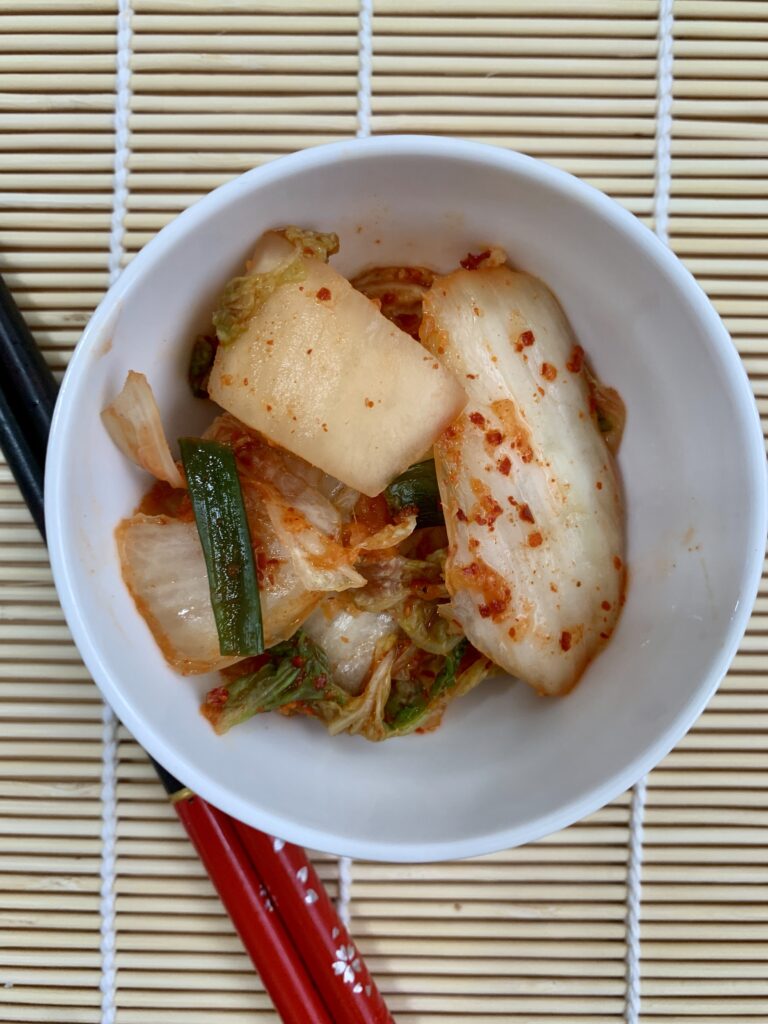
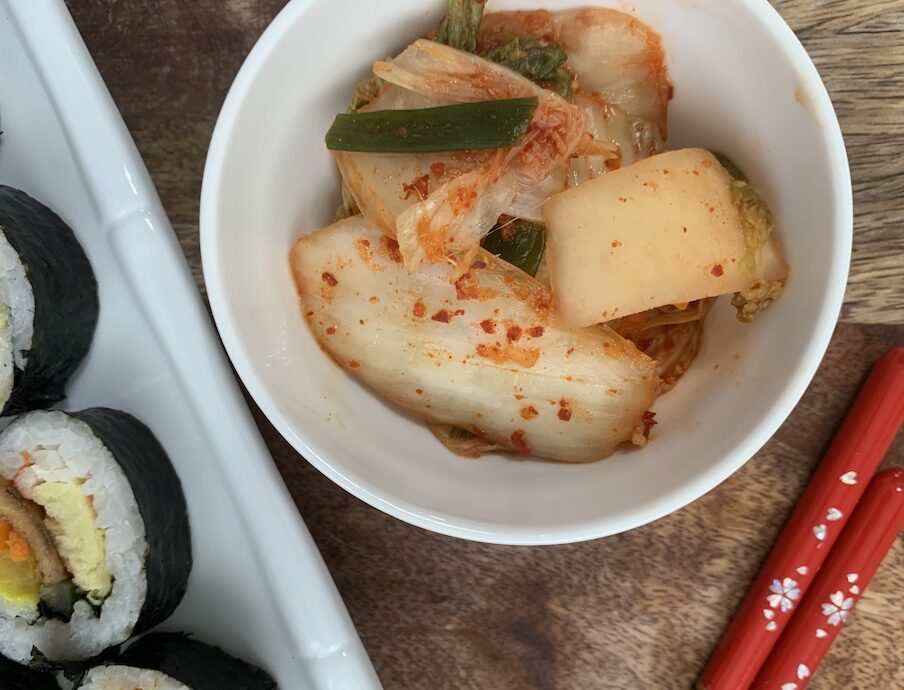
Kimchi is a staple of Korean cuisine. This quintessential dish is so delicious and has been on my plate since I was a baby. I kid around with friends that it flowed through my veins. Everything I ate was topped with kimchi – spaghetti, mac and cheese – seriously, everything! My mom’s kimchi recipe was delicious. I remember my holmoni’s had a real kick to it. My mom would complain that she put too much garlic in it.
My fridge is always stocked with store-bought kimchi. But never did I imagine making my own – it just seemed too hard, and intimidating. Then one day, Melissa’s Produce supplied the veggies I needed to attempt to make homemade kimchi. To my surprise, it was much simpler than I thought it would be.
Beware, this recipe takes some time. The fermentation process takes time, so if you are looking for immediate satisfaction then head to your local Korean market (even Ralph’s and TJ’s sells it now). But if you are willing to learn about the process, and make your own. Keep on reading!
It was also cool for my daughter to watch the fermentation process. One of my dreams has always been to share my love of kimchi with my daughter. I would wash off the spices for her when she was little. I figured she’d gradually grow into the taste. No such luck, she’s not a fan of spicy anything. Sadness. But at least she can learn how to make kimchi at my side!
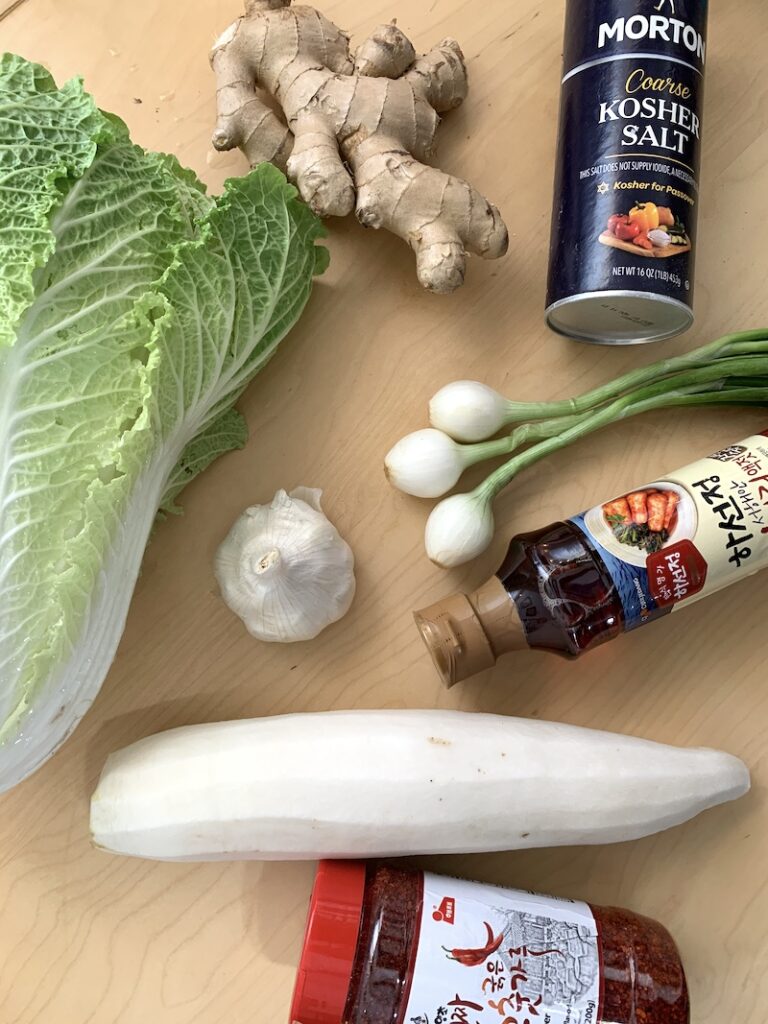
Ingredients
- 2 medium-sized Napa Cabbage
- 1/4 cup kosher salt
- Filtered Water
- 1 tablespoon grated garlic
- 1 teaspoon grated, peeled fresh ginger
- 1 teaspoon granulated sugar
- 2 tablespoons fish sauce
- 1 to 5 tablespoons Korean red chili powder (depending upon the level of heat you desire)
- 2 large carrots peeled, thinly julienned
- 8 ounces daikon radish, peeled and cut into cubes
- 2 bunches of scallions, trimmed and cut into 1-inch pieces
Supplies
- Cutting board and knife
- Large bowl
- Gloves
- Plate and something to weigh the kimchi down, like a jar or can of beans
- Colander
- Clean 1-quart jar with a plastic lid
Let’s do this!
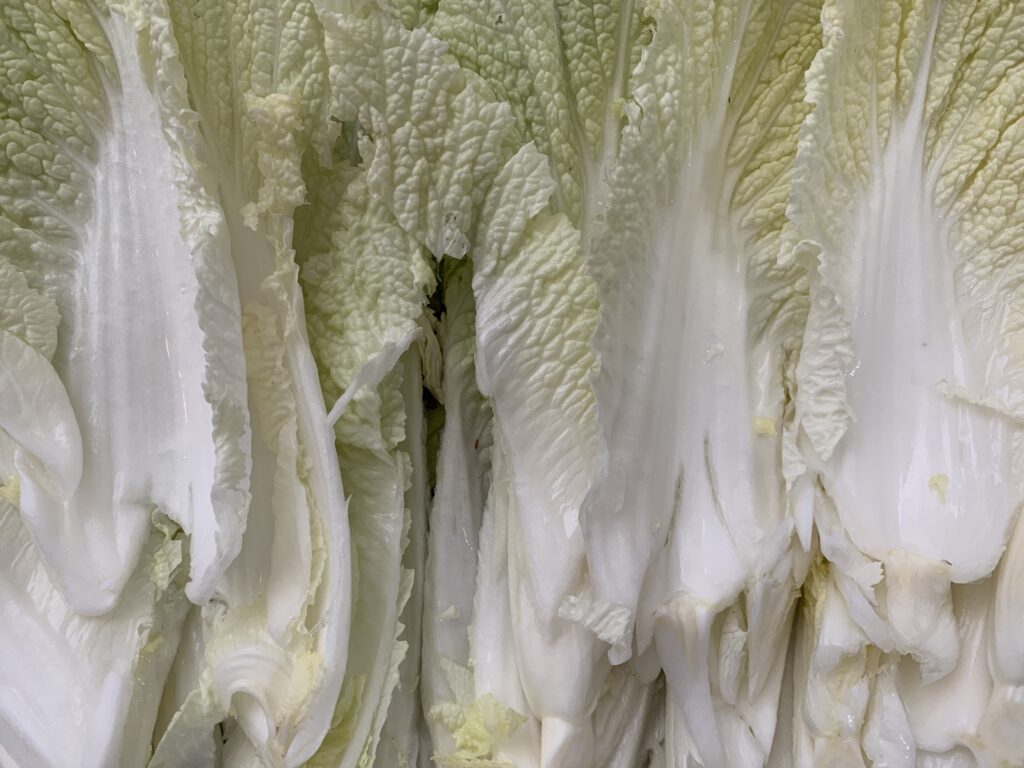
1 Begin by cutting the cabbage. Slice the cabbage lengthwise through stems into halves. Remove the core from each piece half. Then cut the halves into halves lengthwise. Now you will have quarters. I cut the quarters into small squares of cabbage. I didn’t measure them but I’d say around 2 inches.
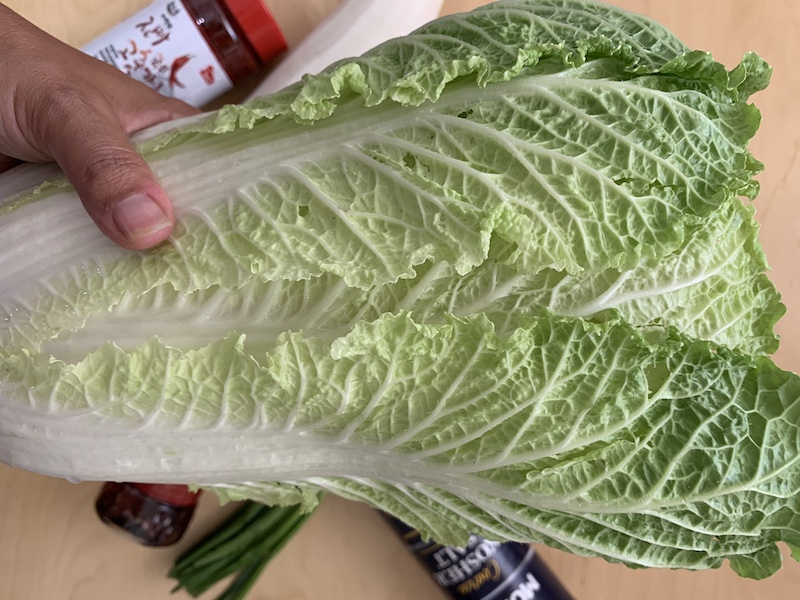
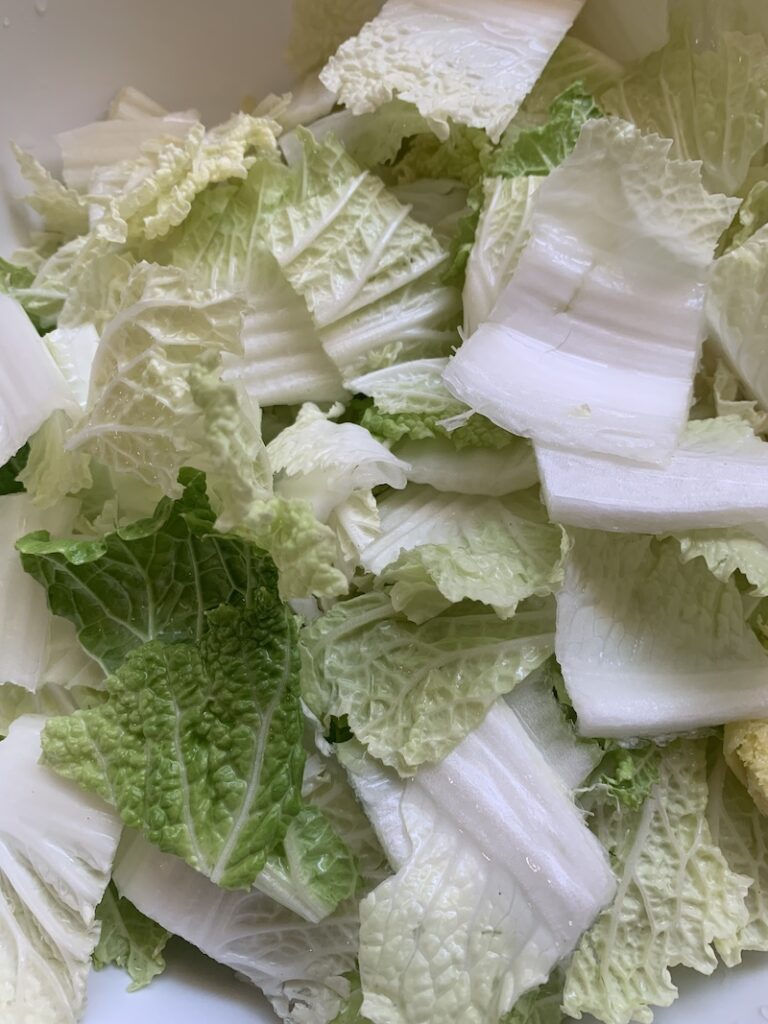
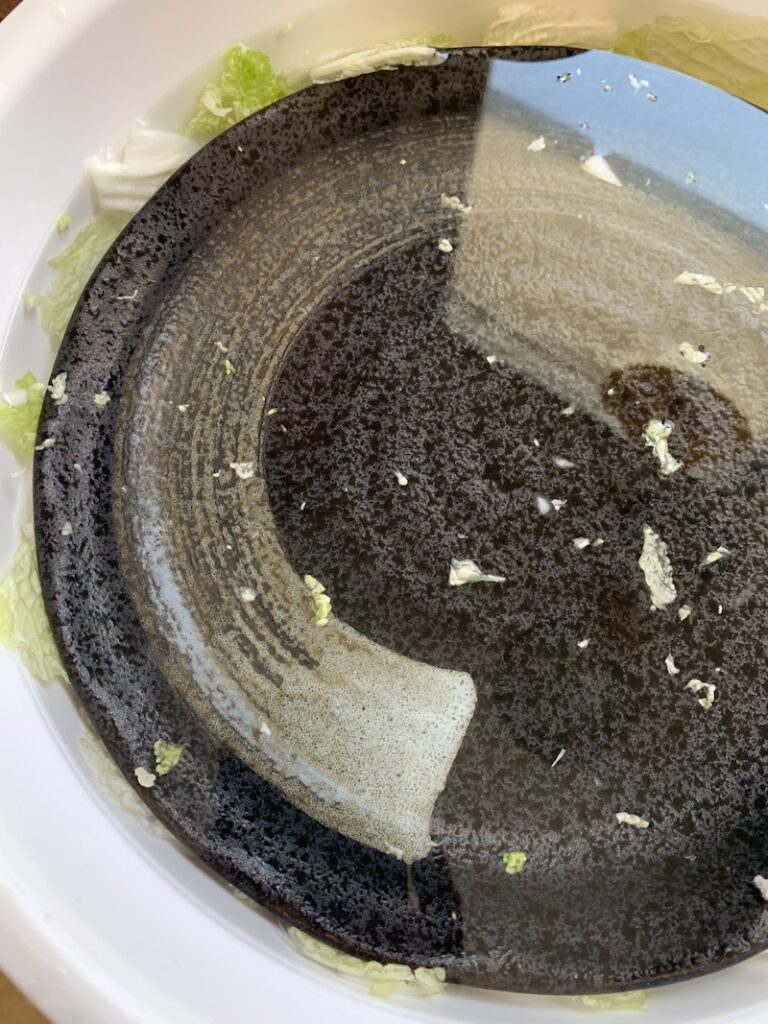
2. Place the cut cabbage into a large bowl. Sprinkle the salt over the cabbage, and massage it with your hands. Add enough filtered water to cover the cabbage and carrots. Put a plate on top of the cabbage and place something heavy on the plate (jar of sauce or can of beans) to weigh down the cabbage. Let stand 1 to 3 hours. I let it stand for about 90 minutes.
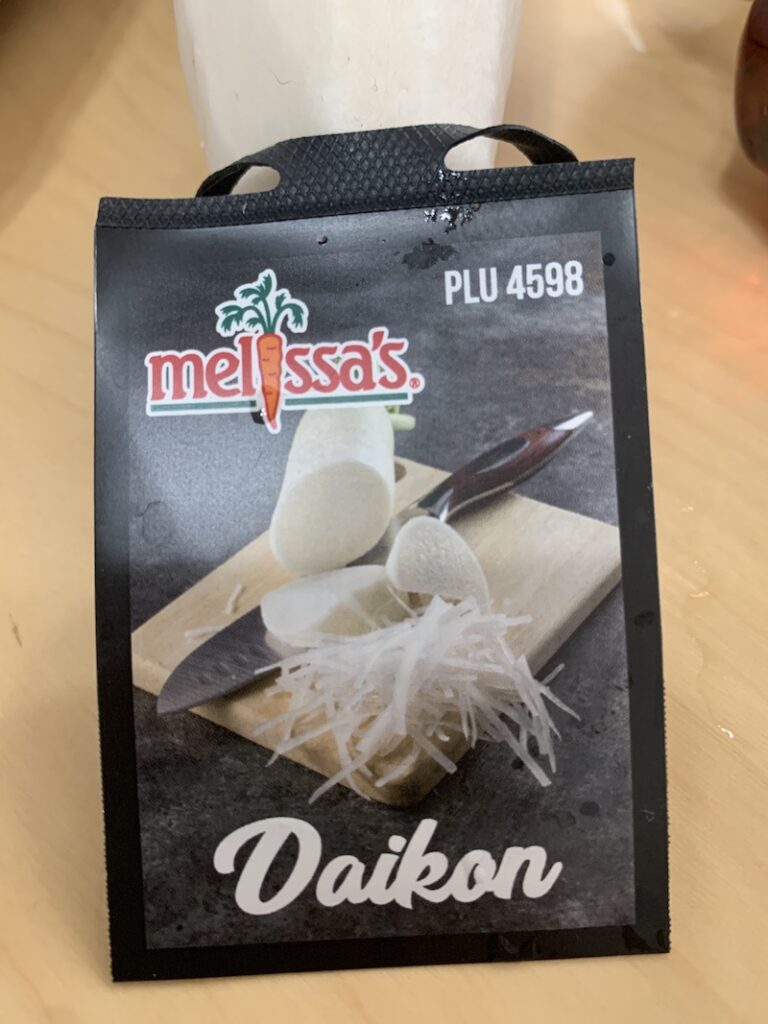
3. While waiting for your cabbage to soak, cube your daikon radish.
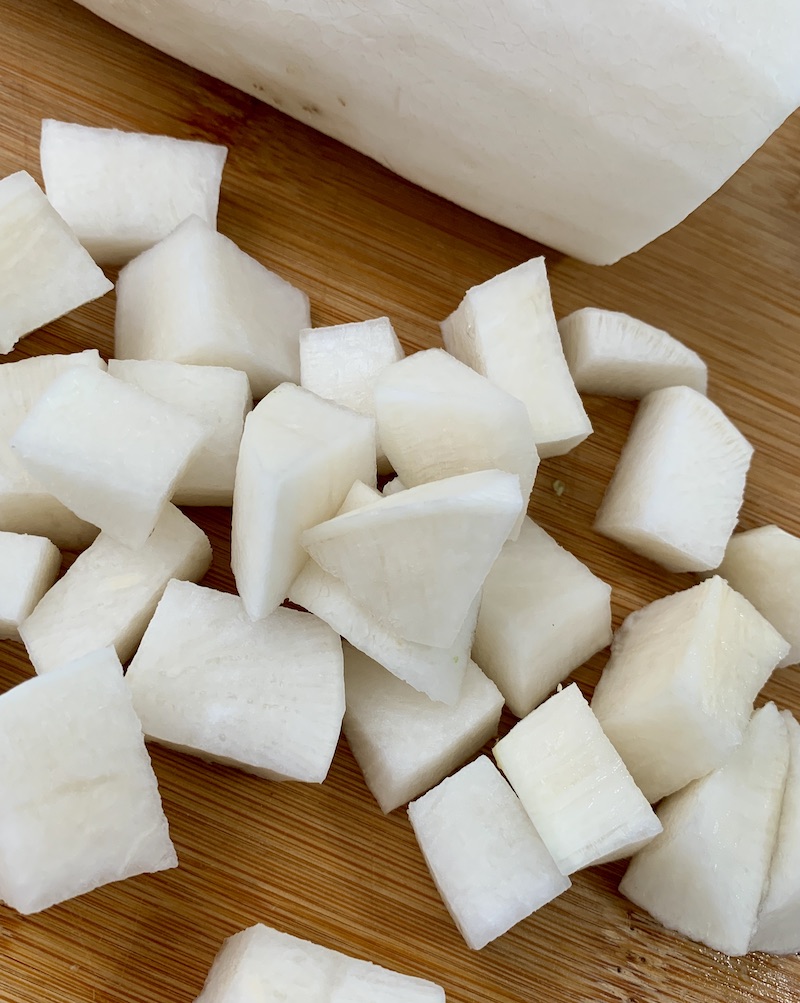
4. Rinse and drain the cabbage under cold water three times. Set aside to drain in a colander for 15 minutes. Then work on the paste.
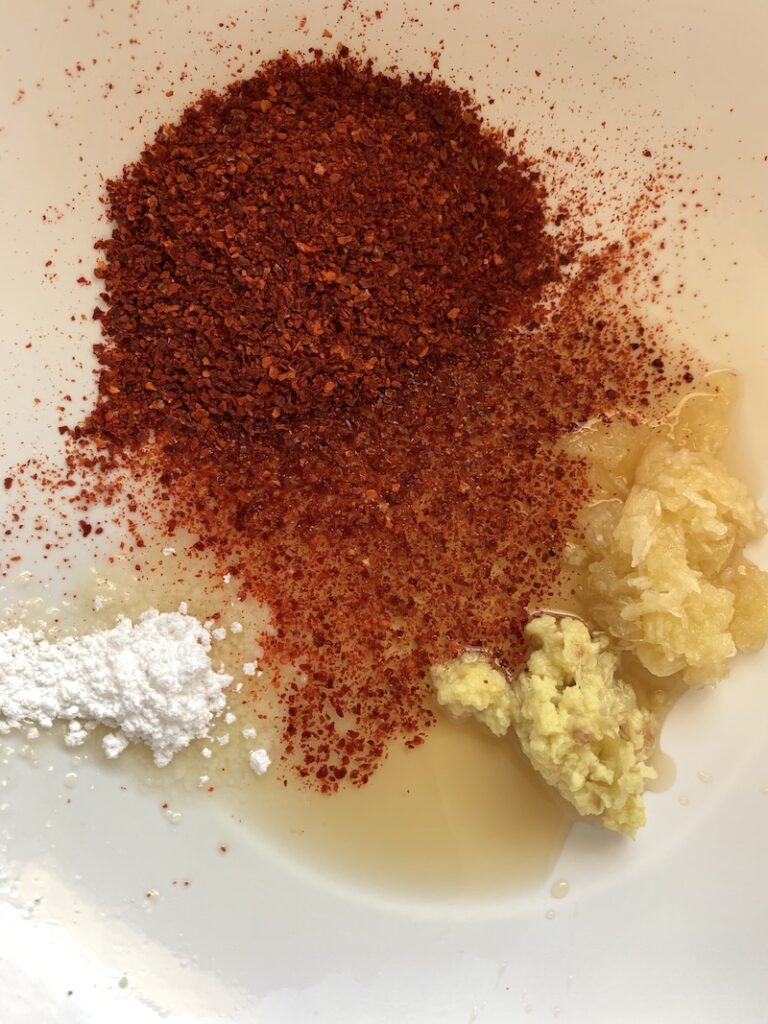
5. Add garlic, ginger, sugar, and fish sauce, and stir into a smooth paste. Stir in the red chili powder. How much you use is your preference. Do you like mild kimchi? Use 1-2 tablespoons. If you enjoy spicy kimchi then use 3-5 tablespoons. I like to use around 3-4 tablespoons. Set aside.
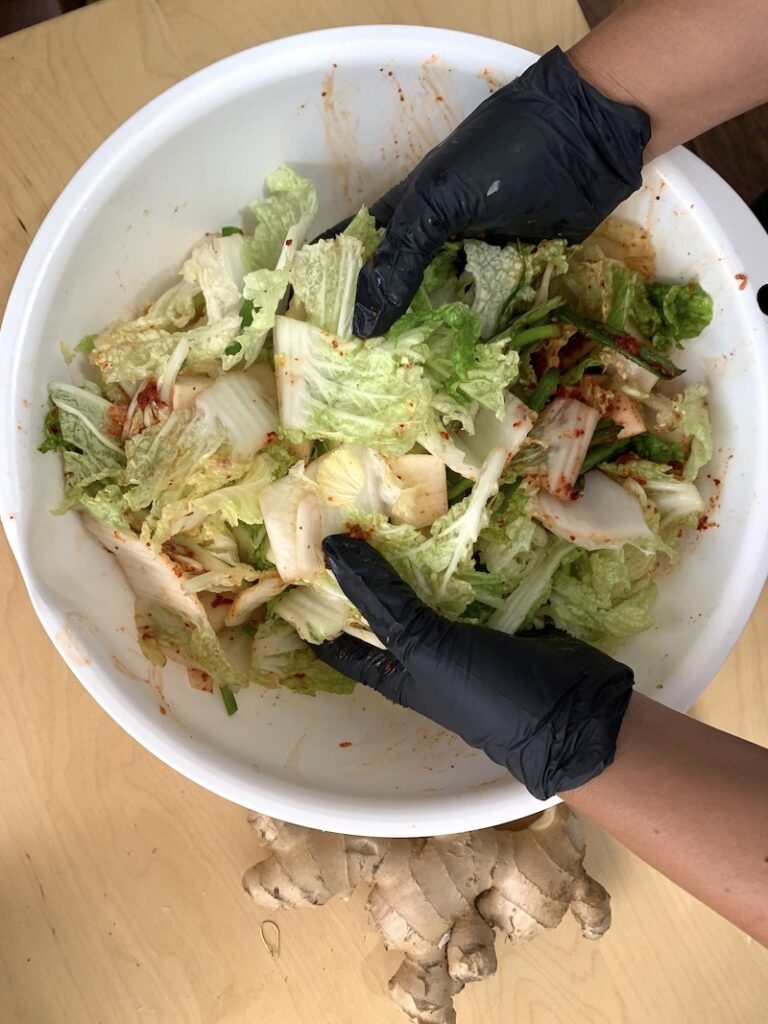
6. Move back to the cabbage, and squeeze out any remaining water. Add it to the paste along with the radish and scallions.
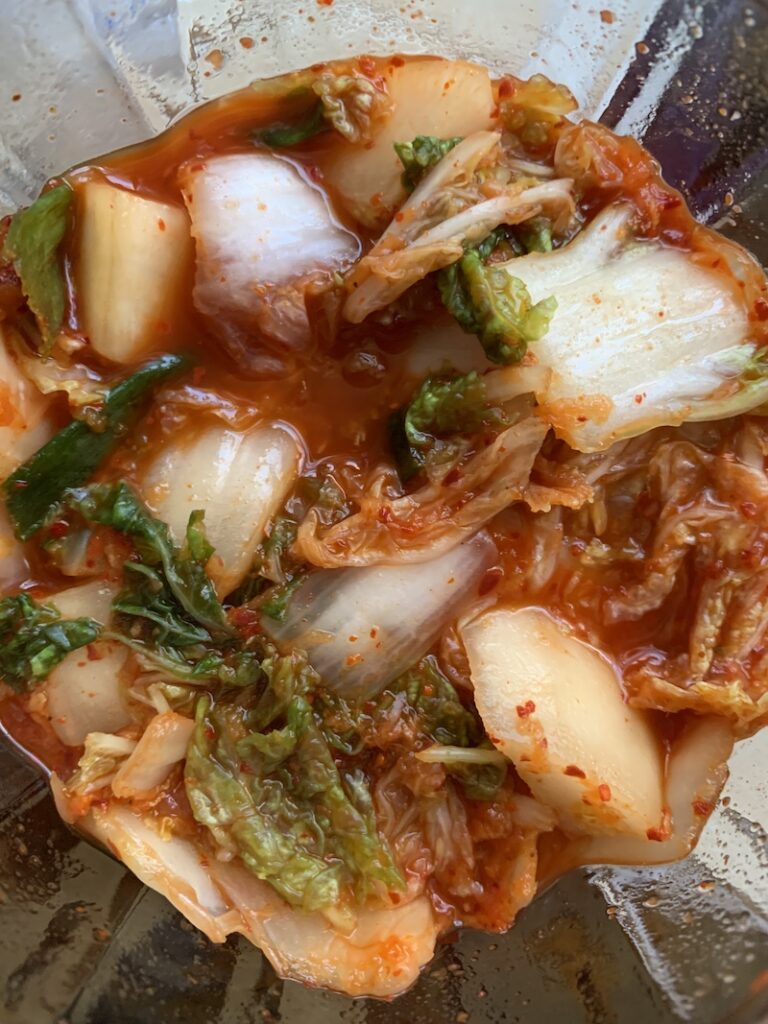
You can use your hands, but I recommend a pair of gloves when you mix the veggies with the paste. It can be messy and smelly (although it’s a yummy scent!)
7. Once mixed, pack the kimchi into a jar(s). Press down on the kimchi until the brine rises over the veggies. Leave some space at the top and seal the jar. Place in a cool, dark area.
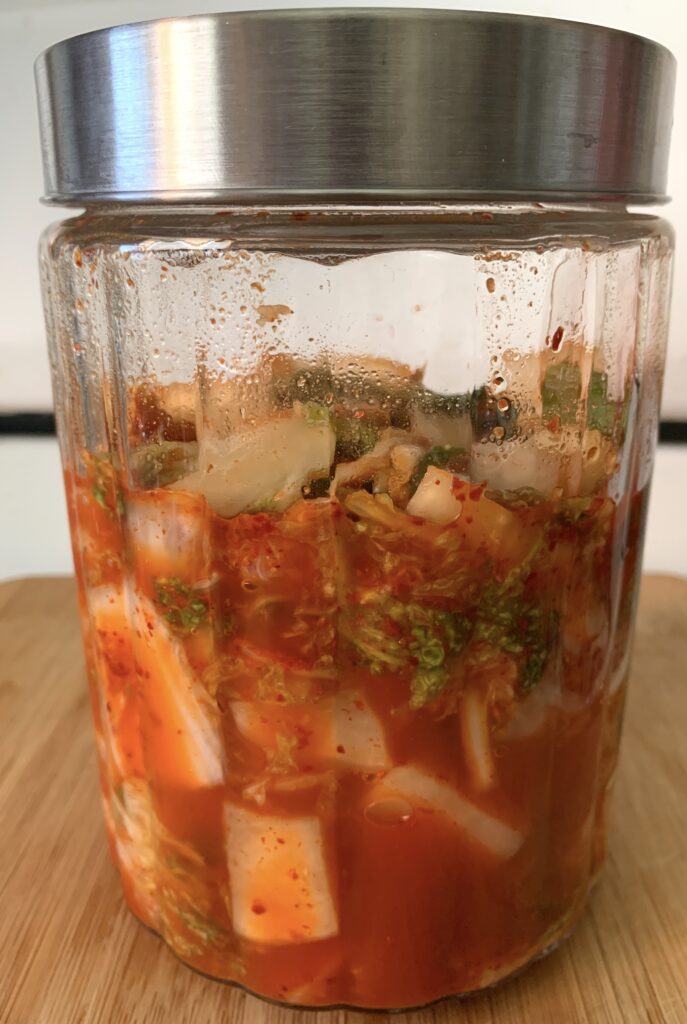
Now the fermentation process takes around 72 hours. You’ll see it working as bubbles release! Open the lid every day to release the gases produced during the process. I also tasted it to see if it was to my liking! Once you are satisfied, place the jar into the refrigerator. Since I’m the only one eating it at home, it lasted about a month. I was proud of myself for finally getting over the fear of making my kimchi and connecting to my culture.
Eat it with bibimbap (check out our recipe) or as a side with kimbap or use it in a stew, fried rice, or if you are adventurous add it to quesadillas or on top of a fried egg! The yummy combinations are endless!

